
Hellooooooowww....!
Some friends have been asking me on the simplest way to get better Black & White pictures.
As a start, i did these baby steps and I'm sure every babies out there can perform this.. hehe
so good luck trying..especially to my friends that are struggling hard for Dr. O's 50 picture project. =)
 1. Select a picture that you want to convert to black and white
it can be from your own files or anything from the web
 2. Converting to Black and White:
Layer > New Adjustment Layer > Black & White

3. This little box will appear, it tells you that you have created a new layer. Just click OK
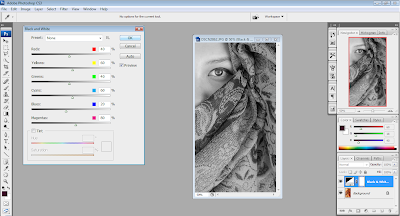
4. Your picture will automatically transformed to Black and White. Click OK button to confirm transformation.
Are you ok so far? i bet you are doing fine. Let's move on babies...
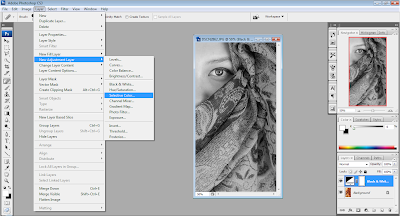
5. Enhancing the black color to create better effect:
Layer > Adjustment Layer > Selective Color
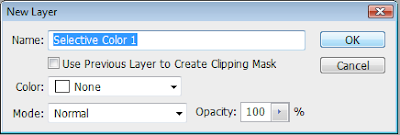
6. This little box will appear again to confirm your New Layer. Click OK.
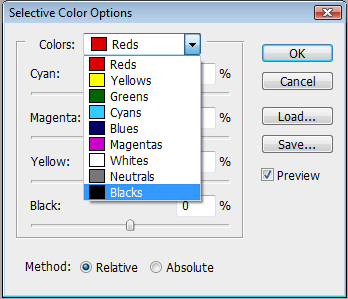
7. This box will appear next, as shown above, scroll down at the color selection section and click to choose 'Blacks'

8. After choosing 'Blacks', you will see some scroll buttons like what is shown above. Focus on scroll button named 'Black', then add up the percentage by dragging the scroll to the right. Look at your picture as the black color go deeper, once you are satisfied with the effect, click OK.

3. This little box will appear, it tells you that you have created a new layer. Just click OK

4. Your picture will automatically transformed to Black and White. Click OK button to confirm transformation.
Are you ok so far? i bet you are doing fine. Let's move on babies...
5. Enhancing the black color to create better effect:
Layer > Adjustment Layer > Selective Color

6. This little box will appear again to confirm your New Layer. Click OK.

7. This box will appear next, as shown above, scroll down at the color selection section and click to choose 'Blacks'

8. After choosing 'Blacks', you will see some scroll buttons like what is shown above. Focus on scroll button named 'Black', then add up the percentage by dragging the scroll to the right. Look at your picture as the black color go deeper, once you are satisfied with the effect, click OK.
9. Save your work as JPEG. Make sure the file is saved under JPEG image option of 10. Then click OK.. again...
Tadaaa!!! congratulation, you have made it!!
hehe..
Do explore more on CS3 effects, you will be surprise how it work its magic.


1 comment:
nice tutoriall aimi hee :)
Post a Comment